Migrate content to Rich Text
The objective of this guide is to migrate your existing content to Rich Text. The existing content exists in the following form:
- Markdown; for plain text
- References; for Composable entries
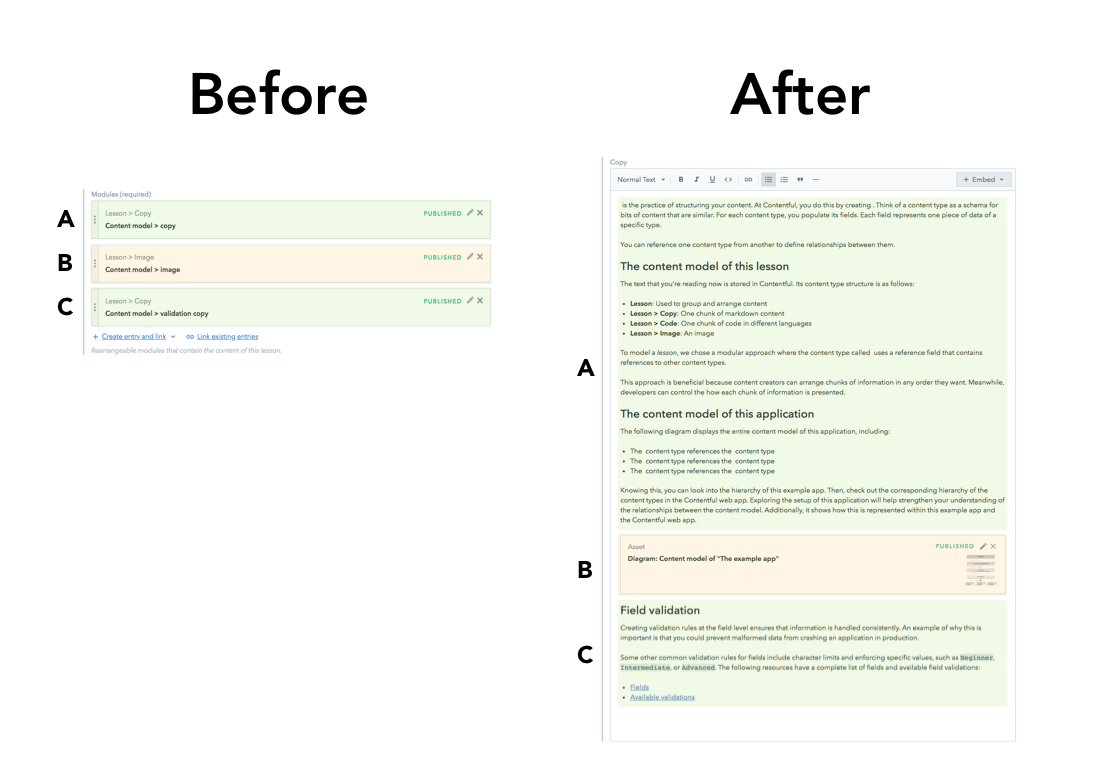
To explain the steps involved in content migration effectively, the Example App is referred. The Example App uses a Content model that has content pertaining to both the forms mentioned above. Thereby, providing a perfect platform to perform the following transformations for the entries of content types:
- “Lesson > Copy” -> “Rich Text” text
- “Lesson > Image” -> “Rich Text” Embedded Asset
- “Lesson > Code Snippet” -> “Rich Text” Embedded Entry
that are linked from “Lesson” entries.
Prerequisites
- Knowledge of JavaScript and familiarity with Contentful’s migration tooling.
- The migration tool installed in your machine.
- A sandbox environment (available from micro spaces and above).
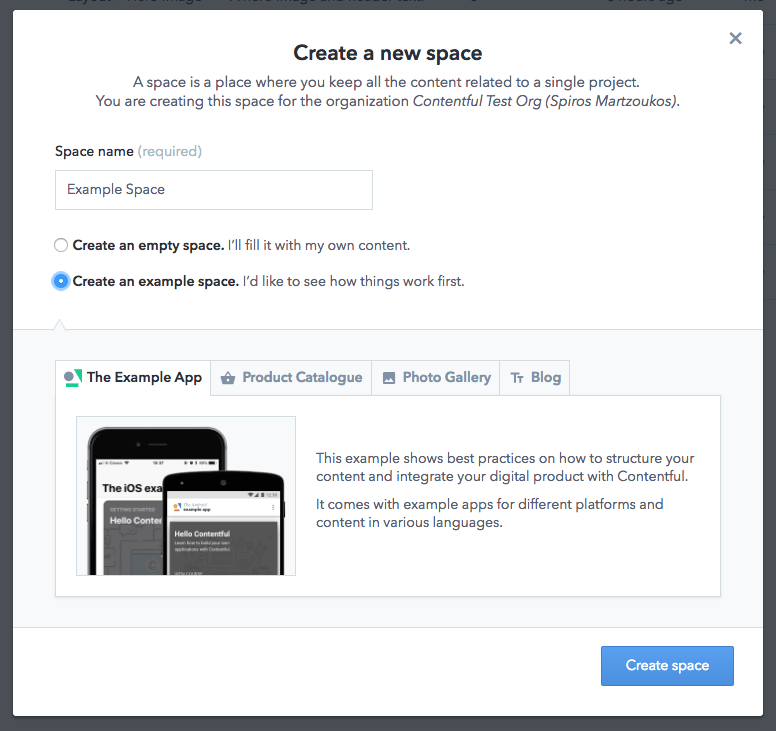
1. Create an Example app
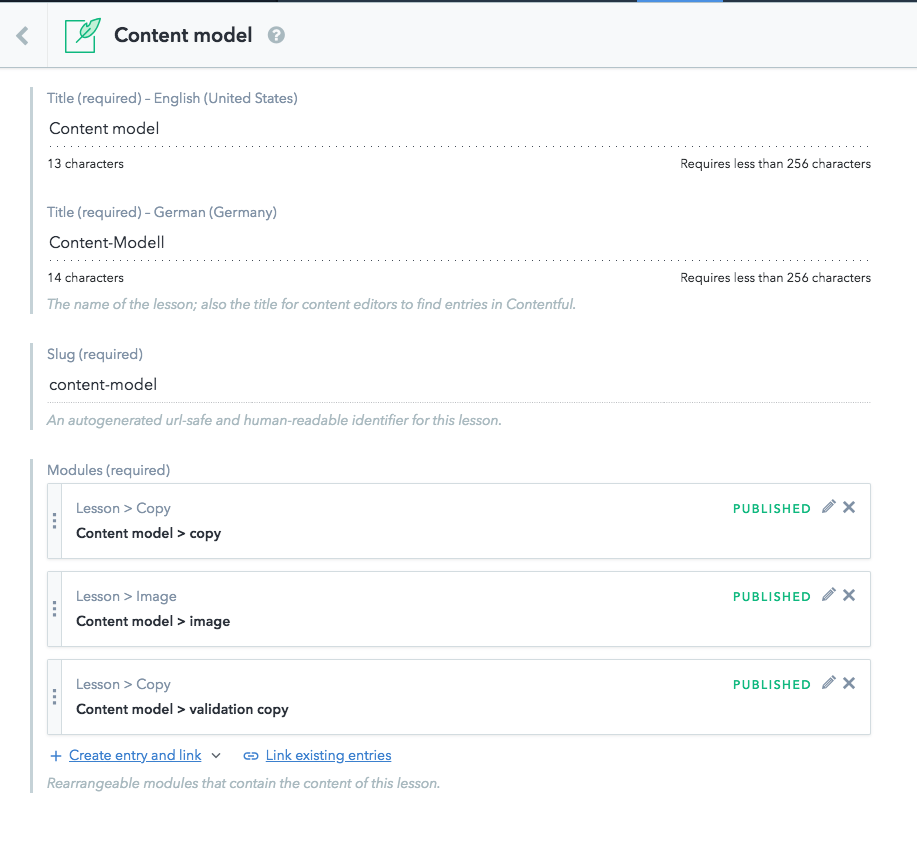
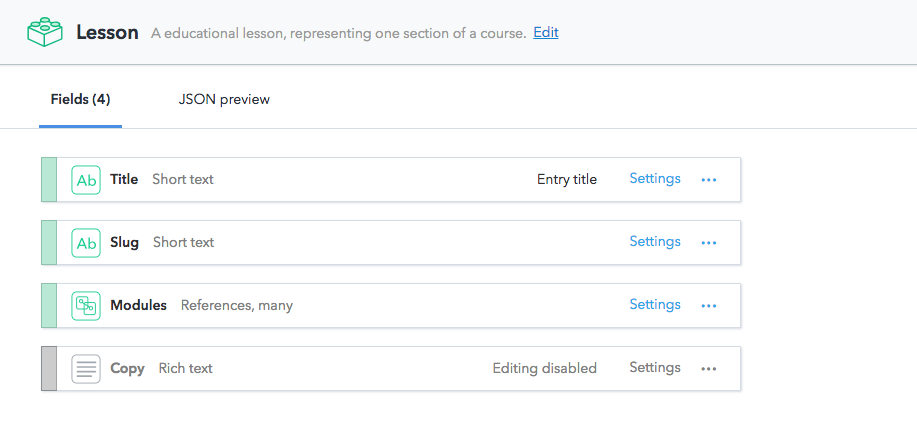
To replicate the Example app, create a sample space with this Content model first:
Here you can navigate to an entry of “Lesson” Content-Type, similar to the one explaining how content modeling works:
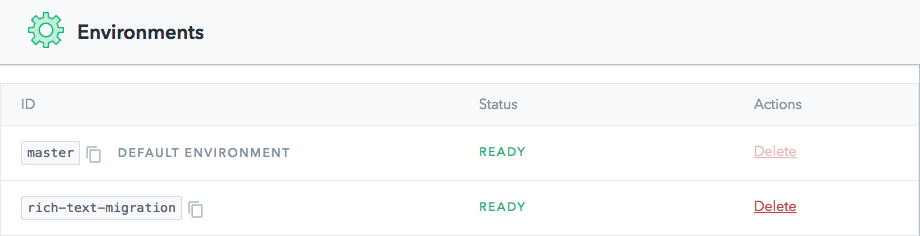
2. Create a sandbox environment
To mitigate the risk of making changes that hamper your production application, create a new sandbox environment. Let’s call this “rich-text-migration”:
3. Add a Rich Text field
This can also be done with the migration script. In this case, the UI is used to keep the code sample light and focused on migration only logic.
4. Create the migration file
You can skip all the intermediate steps and go straight to step 10 to access the final file of the migration.
Following is the shell for the migration file:
The objective of the next steps is to change the “lesson” content type by:
- transforming the content of the “modules” field content to Rich Text format and,
- export it (currently an empty object is exported) to the newly created “Copy” field.
5. Get the linked Modules for the current Lesson
While iterating over the different entries, you might first need a collection of the Modules that are linked by your “Modules” field. The following code gets the linked Modules:
6. Convert “Lesson > Image” entries to Rich Text images
As Rich Text supports images, we can take the “media” field of the linked “Lesson > Image” entries and turn that into a Rich Text embedded asset. There is already some conditional logic on the content type id of the linked module but for now, the Rich Text field with images is populated.
7. Convert “Lesson > Code Snippets” entries to Rich Text embedded entries
The “Lesson > Code Snippets” entries are embedded as entries instead of assets:
8. Convert the Markdown text in “Lesson > Copy” to Rich Text
In this step, the Markdown text is transformed using the rich-text-from-markdown tool.
In order to install it, run:
Then, update your migration script:
9. Convert the Markdown text with images
This section explains how to transform Markdown text with images to the Rich Text Document with embedded assets.
To get started, update your migration script for Lesson > Copy:
10. Markdown migration script
Let’s combine all pieces of the puzzle in one script:
11. What about unsupported Markdown?
Rich Text does not support the following Markdown functionalities:
- Tables
- Code block
- Strike-through
To migrate the above content to Rich Text, you have the following three options:
- Migrate the content into a linked entry which only has a Markdown field with the supported content, which is similar to the action performed in step 8.
- Convert the content in a manner that its core meaning is migrated but not its formatting. For example, convert a table to a list or a link to an external PDF with that table.
- Ignore the content and do not migrate it.
The aforementioned rich-text-from-markdown tool has a callback function where you can decide the logic for migrating every Markdown element. Thereby, giving you control to perform each of the above options.
You can read more in the repo.
12. Run the migration
You are now ready to run this migration script by running the following command in your shell:
Conclusion
After running the migration script successfully, the Rich Text field is available on your “Lesson” entries with content that contains rich text content, embedded assets, and embedded code snippets.
You are now ready to:
- Do the corresponding front-end changes to your application. You can get started by referring the Rich Text guide.
- Delete the sandbox environment.
- Create the Rich Text field in your master environment (you can disable editing until the migration script is run).
- Run the above migration on Production.
- Promote your code changes to Production.